Product Launch Template
The objective of the article is to present, how collaboration with Microsoft Teams templates can help an organization optimize any Product Launch. Product Launch Management is a Collaborative Process and Teams is the perfect home for that. With a Template, you can address this process at scale in your organization
Step 1: Create the Original Team of the Collaboration Template
1. Create a new team using the regular way, from "Join or Create Team" in Teams.
2. Name it "Product Launch - Template" for example.
3. Add the different channels, here is a suggested list:
- ▶ Social Media
- 💰 Budget
- 📢 Marketing Planning
- 📅 Planning
- 📣 Campaigns
- 🗓 Team Meetings
You can frame the channels the way you want, based on your need.

You can frame the channels the way you want, based on your need.
4. Add Websites Tabs in every channel needed, you can bring any content that comes with a URL to the Team created. The content can be any information that you would like to share with your team members.
- Guidelines on Internet or intranet
- Link to a share-point online documentation library
- Internal web-based application

5. Create a Planner with the list of tasks that you need to carry out. Few examples that can be:
- Post Launch (Measure success, Updates, Customer Relation)
- Launch (Market Strategy, Update the Sales Team, Activate the Sales Team)
- Pre-Launch (Go to Market Strategy, Build Buyer Persona, Mock Press Release)

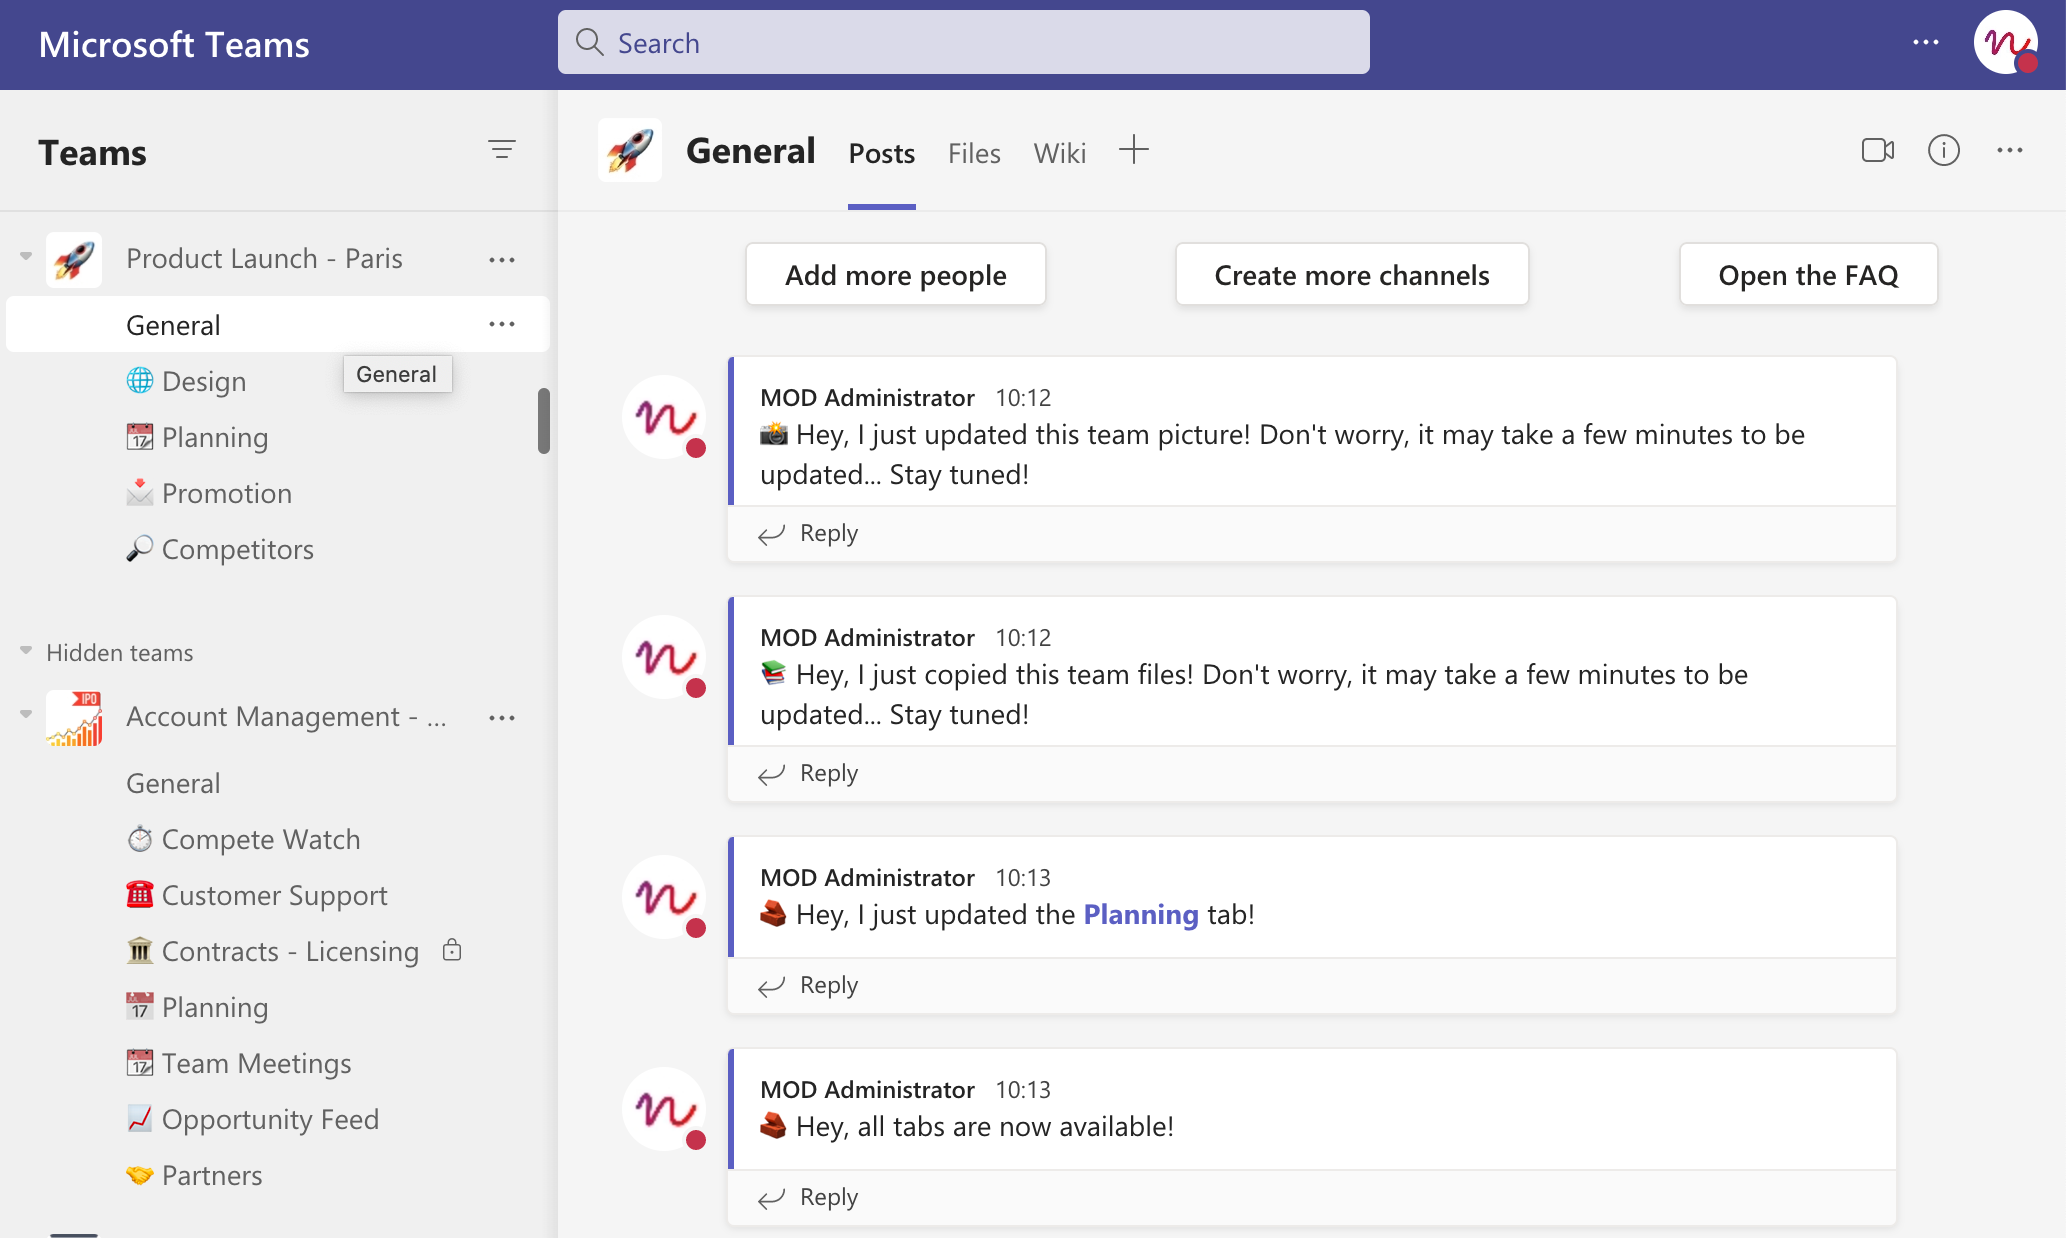
6. Also, add a profile image to the Original Team, this image will be replicated to each Team Created.
It's done!
Step 2: Adding Collaboration template to a corporate catalog
1. Add the Original Team to the Catalog: for this, you need to be logged in as a global admin. Go to Catalog Tab in nBold App and look for the team you created i.e. "Product Launch - Template.
2. Click on the 'Create' option present on the top right corner and select the team to be cloned, which in this case is "Product Launch"
3. In the Info tab, fill in the name of the original team which is named "Product Launch - Template" Microsoft Team name and description. You also have the ability to choose the desired Collaboration Template language.
4. In the Name Tab, set up the name of the Team that will be created from the Template:
- Default Team Name (what user will fill in the request form): this can be the
Product name - Naming Convention (the name automatically generated): this can be
<%= request.team.name %> - Product Launch - Default Teams description: Enter
Additional Product Launch Information - Business Solution Description: this can be
Team dedicated to collaborate around the Product Launch: <%=_request.team.name %> | Location: <%= user.msCountry %> | Created by: <%= request.request.requester.name %>with the job role:<%= user.msJobTitle%> | <%= request.team.description %> - Same Idea with the welcome message!
5. In the Approval tab, define the approval policy with an approver from your organization.
- In the Audience tab, define the audience you wish to target for this Collaboration Template.
- In the Compliance tab, define sensitivity labels applied to each team created from the template to protect your data.
- In the Security tab, define the Security Policy with:
- Teams Privacy enforcement to Private for example
- Permanent Owners
- Permanent Members
Step 3: Try It!
Go on the home page. Click on the "Create" option. You will see the Business option being created on the Catalog. The business solution is named 'Product Launch'.
- Go on the home page. Click on the "Create" option. You will see the Collaboration Template option being created on the Catalog. The template is named 'Product Launch'.
- Once the Collaboration Template named 'Product Launch' is created, go to the 'Home' tab and select the template
- Name the template and add a description to it. Add a welcome message that you want to be seen by the members of the team when they join the Team.
- Within seconds, your Teams matching your business need are up and running.
If you are doing that with a service account, no notification will be seen because you are the account that is creating the Team.